Old fuse boxes – those porcelain bases with rewirable fuse wires – are still protecting many solar PV systems installed a decade ago. But are they really safe for today’s higher DC currents and continuous solar generation?
Many system owners experience nuisance blowing, burnt fuse holders, or even small arc flashes when pulling out a fuse under load. The real pain? You often discover a blown fuse only when your inverter shuts down unexpectedly.
If you are upgrading your solar array or adding battery storage, retrofitting those old fuses with solar circuit breakers brings three immediate benefits: faster short-circuit interruption, manual reset without replacing parts, and clear visual indication of tripped status.
But the transition isn’t just “pull out the old, clip in the new”. There are critical differences in trip characteristics, DC voltage rating, and breaking capacity that you must get right. This guide walks you through the entire retrofit process – from sizing to wiring – so you can retire that risky fuse base for good.
Why Old Fuses Fail in Solar Applications
Rewirable fuses were designed for resistive or mildly inductive AC loads – lighting, fans, small motors. Solar PV circuits behave differently:
-
Continuous high current heats the fuse wire, lowering its melting point and causing nuisance trips.
-
DC arcs – once a fuse blows under DC, the arc can sustain across the gap, burning the fuse holder.
-
Lack of positive indication – you cannot tell if a fuse is blown without pulling it out.
According to the National Electrical Code and IEC 60364-7-712, solar DC circuits require overcurrent protection devices that are specifically rated for DC and have adequate breaking capacity. Old fuses rarely meet this.
Step-by-Step Retrofit Process
Before touching any wire, isolate the PV array and verify zero voltage with a multimeter. DC systems are unforgiving.
Step 1 – Assess Your Existing Fuse Setup
Note the following:
-
Rated current of the fuse wire
-
Number of poles
-
Voltage rating.
For solar strings, the actual DC voltage can be 150V–600V. Old AC fuse bases are not safe at those DC voltages because the arc extinguishing distance is insufficient.
Step 2 – Choose the Right Replacement
You need a DC-rated overcurrent protection device designed for solar applications. Look for:
-
Rated DC voltage ≥ your system’s maximum open-circuit voltage.
-
Breaking capacity (Icn) ≥ the prospective short-circuit current of your array (typically 5kA–15kA for residential).
-
Trip curve – for PV, choose curve C or curve K.
-
Number of poles – if your old fuse only interrupts positive, you can still use a single-pole solar breaker. For ungrounded systems, use a double-pole to interrupt both legs.
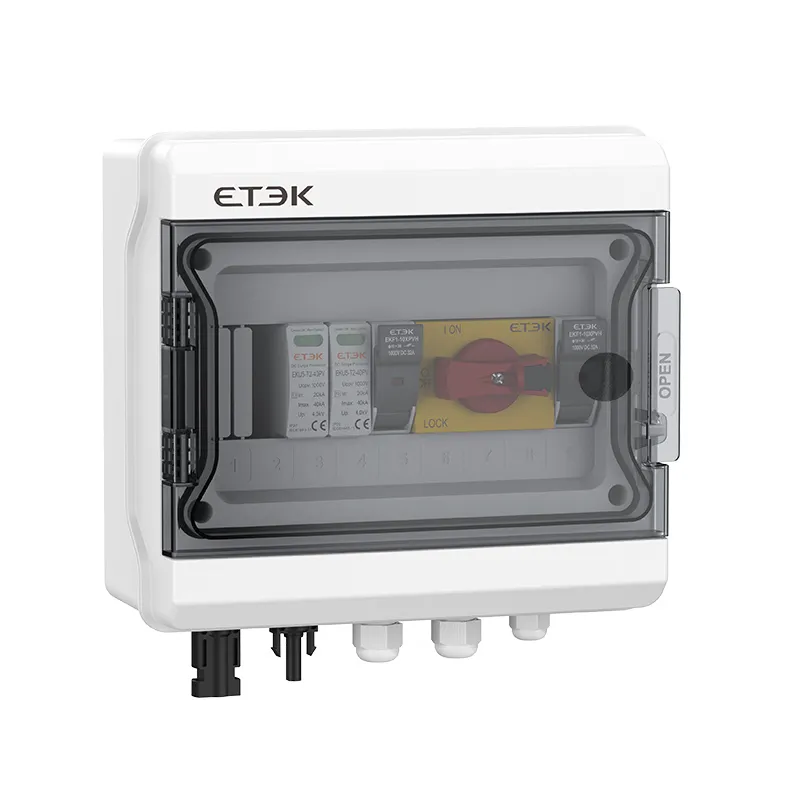
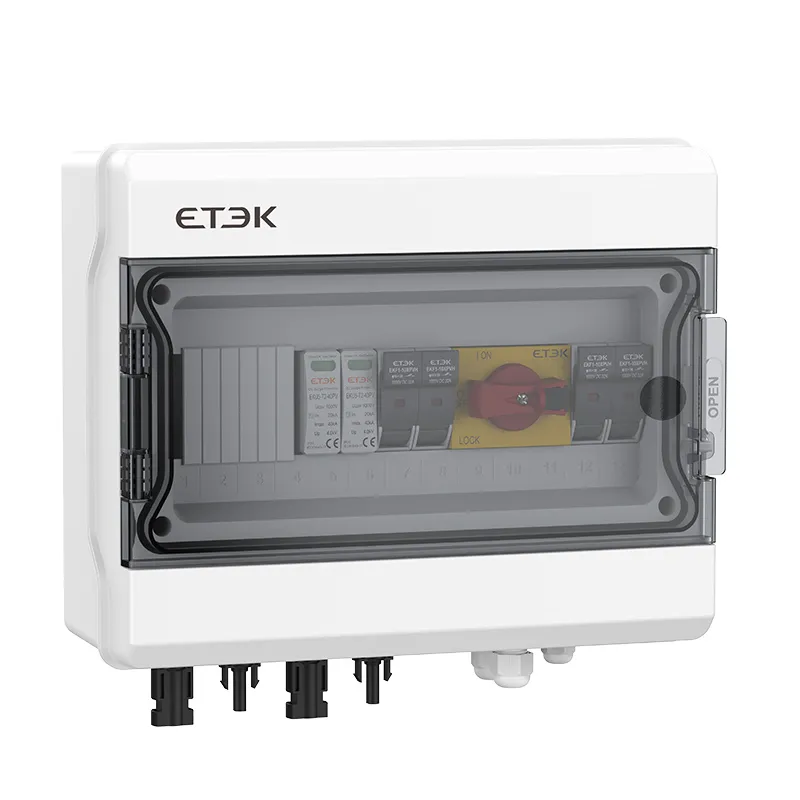
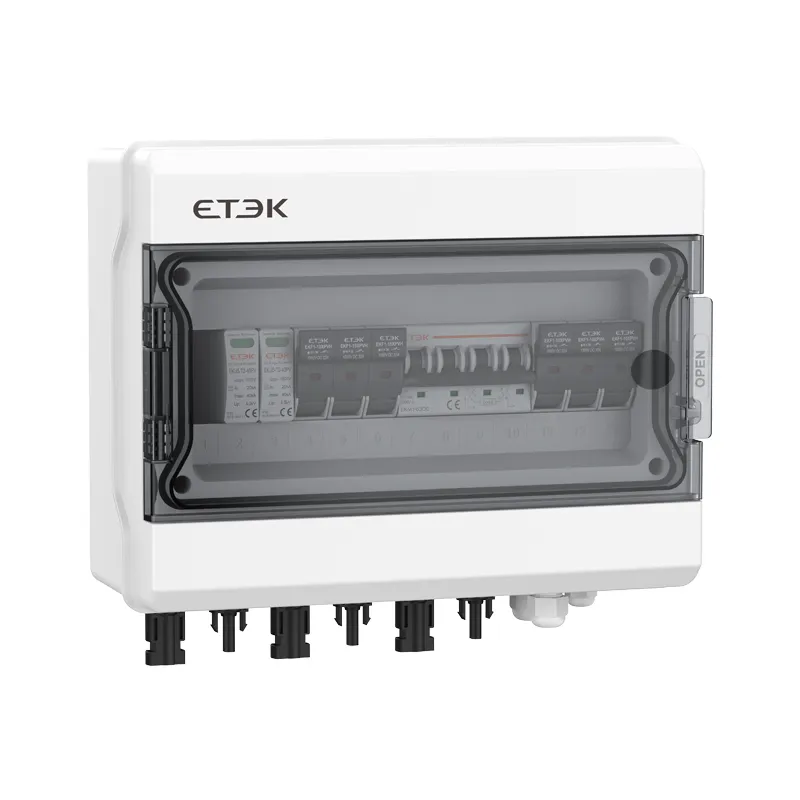
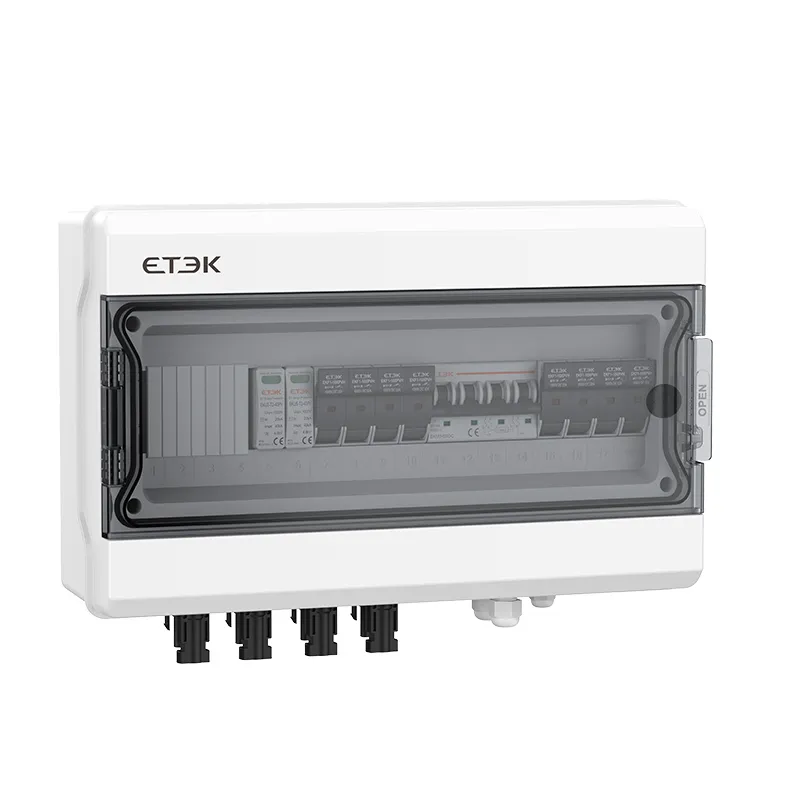
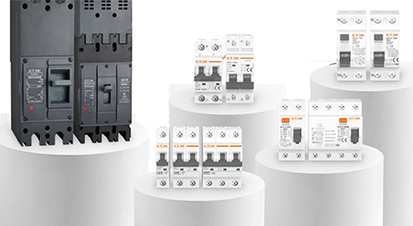
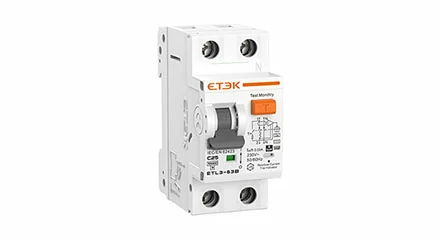
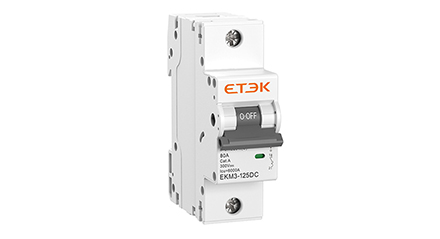
Many retrofit projects use DIN-rail solar breakers from specialized manufacturers. For example, find suitable solar-rated protection components here that match common PV string specifications.
Step 3 – Remove the Old Fuse Base
-
Unscrew the fuse carrier, and remove the fuse wire completely.
-
Disconnect incoming and outgoing wires.
-
Unmount the porcelain fuse base from the panel.
Keep a sample – you may need to reference the original current rating for local inspector questions.
Step 4 – Mount the New Solar Breaker
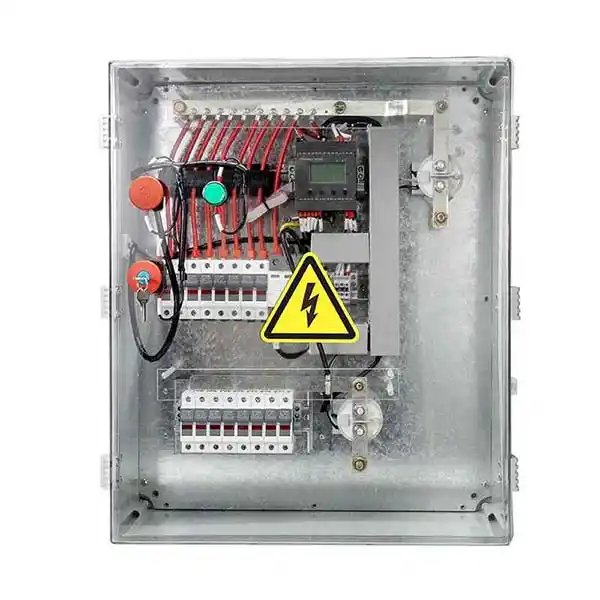
Most modern solar breakers snap onto a standard 35mm DIN rail. If your panel doesn’t have a DIN rail, you can buy a short section (10–20 cm) and screw it into the backplate.
-
Mount the breaker as close as possible to the point where the PV wires enter the enclosure.
-
Leave enough space for heat dissipation – solar breakers generate some heat at full load.
Step 5 – Wire Correctly
DC breakers are often polarized. Even non-polarized models have a preferred orientation for arc extinction.
-
PV positive → top terminal of the breaker
-
Bottom terminal → inverter or charge controller positive input
-
Repeat for negative if using a double-pole.
Tighten terminals to the torque specified on the breaker label. Loose connections cause heating and fire risk.
Step 6 – Label and Test
-
Mark the breaker with “PV ARRAY DC DISCONNECT” and the rated current.
-
Turn on the PV isolator and measure the voltage on both sides of the breaker. Should be identical (minus a few mV).
-
Manually trip the breaker using the toggle – it should cut off voltage. Reset.
Common Mistakes to Avoid
Mistake 1 – Reusing AC-rated breakers for DC
AC breakers rely on the zero-crossing of the AC waveform to extinguish arcs. Under DC, the arc never crosses zero – the breaker will arc internally and may weld contacts. Always use a breaker with a DC marking.
Mistake 2 – Ignoring breaking capacity
If your array can deliver 6kA short-circuit current, and you install a 3kA breaker, a fault will destroy the breaker. Solar modules have very low internal impedance – short-circuit currents can be surprisingly high.
Mistake 3 – Daisy-chaining multiple breakers without a busbar
This creates loose connections and high resistance. Use a finger-safe busbar or pre-wire with properly sized jumpers.
Mistake 4 – Forgetting the battery side
If you have a battery-backed system, the breaker between battery and inverter also needs a DC rating – and typically a higher breaking capacity.
When to Call a Professional
Retrofitting a single fuse holder is a DIY-friendly task for those comfortable with basic electrical work. However, if your system:
-
Has more than 2 strings in parallel
-
Operates above 250V DC
-
Is grid-tied with an older transformerless inverter
-
Has no existing DC disconnect
Then hire a certified solar electrician. They will verify coordination between breakers, withstand ratings, and comply with local amendments to NEC or IEC standards.
Long-Term Benefits After Retrofit
Once you replace those old fuses with solar-rated overcurrent protection, you gain:
-
Remote indication – many modern breakers have auxiliary contacts for status monitoring.
-
Reusability – no more buying fuse wire rolls. Reset with a simple flick.
-
Higher safety margins – proper DC breaking capacity means even a direct short at the array won’t cause catastrophic failure.
-
Compatibility with rapid shutdown – some solar breakers integrate with shutdown controllers.
And from a maintenance perspective, you can visually scan the panel and instantly see which circuit is off – no need to pull fuses blindly.
Final Thoughts
Upgrading old fuses to solar circuit breakers is one of the most cost-effective reliability improvements for an aging PV system. The materials cost is often under $50 per string, and the labor is a few hours of careful work.
If you are planning to expand your solar array or add a battery, do this retrofit first – your new equipment will thank you with years of trouble-free operation.
For ready-to-install solar breakers that match common string voltages and breaking capacities, browse DC-rated protection options for your specific system. Always double-check your Voc and Isc values before ordering.
Disclaimer: This guide is for informational purposes only. Electrical work carries the risk of injury or death. Always follow local codes and consult a licensed electrician if unsure. The author and brand assume no liability for improper installation.
-1640.jpg)
 - Enterprise-Protection-Solution-1052.webp)